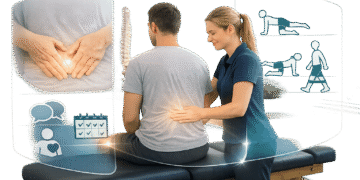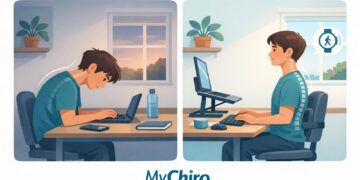

Lower back pain – one of the most common complaints among busy professionals, active parents, and fitness enthusiasts. Whether it’s from sitting at a desk for too long, lifting heavy objects, or dealing with stress-related tension, lower back discomfort can interfere with daily life and quality of sleep. But what if there was a practical, evidence-based approach to relieving lower back pain at home?
In this article, we’ll break down a step-by-step guide to addressing lower back pain, inspired by expert advice. Using simple techniques, minimal equipment (a racquetball or even a rolled sock), and a combination of muscle release, strengthening exercises, and mobility stretches, you can target the root causes of discomfort for both quick relief and lasting improvement.
Let’s dive into the how-to, so you can start feeling better today.
Understanding Lower Back Pain: The Root Causes
Before jumping into the exercises, it’s essential to understand why your back might be causing you grief. The video underscores three key contributors:
- Muscle Tightness and Knots: Trigger points, spasms, and tight lower back muscles are often the primary culprits, especially for those with sedentary jobs.
- Lack of Strength and Support: Weak lower back and core muscles can lead to strain and recurring pain.
- Limited Mobility: A stiff, locked-up back can restrict movement and exacerbate discomfort.
By addressing these factors with a structured approach, it’s possible to not only alleviate pain but also prevent it from coming back. The guide includes three stages: muscle release, strengthening exercises, and mobility stretches.
sbb-itb-585d67d
Step 1: Muscle Release Techniques
When pain strikes, finding immediate relief is often the first priority. The video details a simple yet effective way to release tight muscles and knots using a racquetball (or similar-sized object).
How to Perform Self-Massage with a Ball
- Set Up: Lie flat on your back on a comfortable surface like a bed or floor.
- Position the Ball: Place the racquetball (or a tennis ball, or even a balled-up sock) over the painful or tight area of your lower back.
- Apply Pressure: Gently press your body weight into the ball. Make sure it feels like a soothing massage rather than causing further discomfort.
- Rock Your Hips: Imagine your tailbone curling upwards towards your belly button, allowing your hips to rock backward. Then, reverse the motion by scooping your tailbone downward. These subtle movements help the ball glide over the muscle, offering relief.
Pro Tip: If one spot is particularly stubborn, intensify the massage by pulling your knee towards your chest while pressing into the ball. Rock your knee side to side for a deeper release.
This technique can also be applied to your hips and buttocks to loosen up surrounding muscles.
Step 2: Strengthening Exercises for Long-Term Support
Once the tension is released, it’s time to build strength in your lower back and core. Strengthening these areas provides better support for your spine, reduces strain, and helps prevent future pain.
Exercise 1: Glute Bridge
- Starting Position: Lie on your back with knees bent and feet flat on the floor, hip-width apart.
- Engage Core and Glutes: Draw your belly button towards your spine and gently squeeze your glutes.
- Lift Hips: Press your hips upward until your body forms a straight line from shoulders to knees.
- Hold and Release: Hold the position for 3–5 seconds, then slowly lower. Repeat 10 times.
Advanced Option: Incorporate a marching motion by lifting one leg while holding the bridge position. This challenges your stability and strengthens each side individually.
Exercise 2: Bird Dog Hydrant
- Starting Position: On all fours, straighten one leg back, sliding it along the floor until you feel a stretch in your calf, thigh, hip, and lower back.
- Raise Leg: Slowly lift the leg in line with your body, engaging muscles across your core and hips. Hold for 3–5 seconds, then release.
- Add a Hydrant Motion: With your knee bent, raise it to the side while rotating slightly towards the ceiling for an extra challenge.
Repeat 5 times on each side, adding sets as your strength increases.
Exercise 3: Hip Hiker
- Set Up: Stand on a step with one foot planted and the other foot hanging off the edge.
- Lift Hip: Use the weight-bearing hip to lift your leg upward, engaging both the hip and lower back muscles. Hold for 3–5 seconds.
- Lower Slowly: Slowly drop the leg downward, letting it hover just above the ground for a deep stretch on the opposite side.
Perform 5–10 repetitions per side, ensuring equal effort for balance.
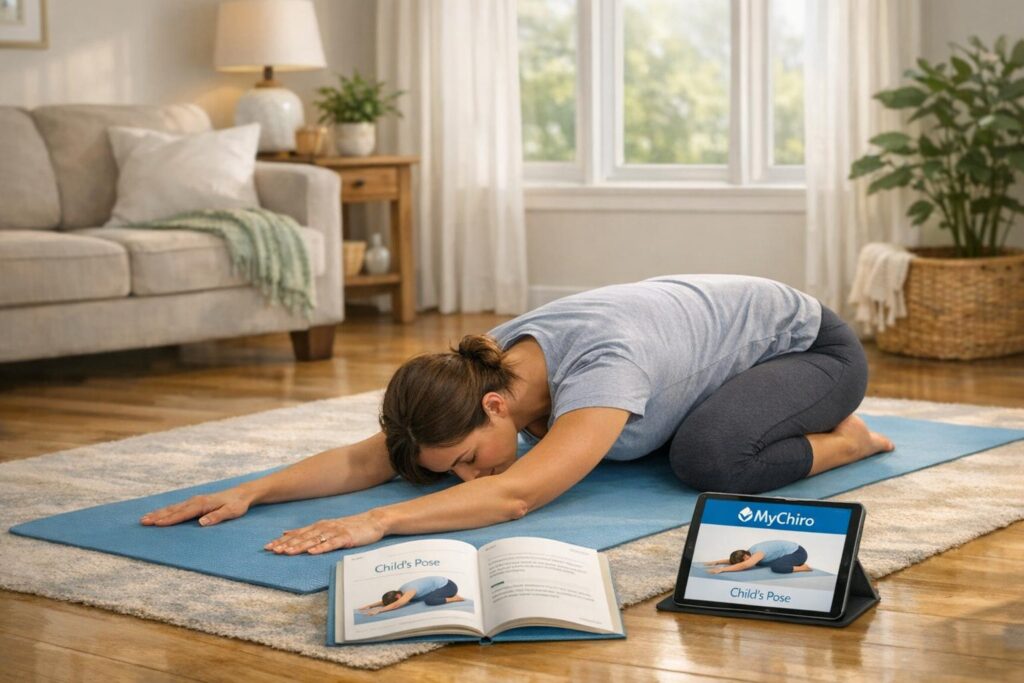
Step 3: Mobility Stretches for Flexibility and Recovery
Keeping muscles loose and mobile is crucial for preventing stiffness after strengthening exercises. The video outlines a few dynamic stretches that target flexibility while soothing the lower back.
Stretch 1: The Ballerina Stretch
- Set Up: Stand with your feet crossed, the painful side’s foot behind the other.
- Stretch Sideways: Reach the arm on the painful side overhead and lean your upper body away from the discomfort, while pressing your hips towards it.
- Hold and Release: Hold for 20 seconds, repeat 3–5 times, and build into a deeper stretch as you go.
For added intensity, twist through your waist or tilt your arms downward to target deeper layers of muscle.
Stretch 2: Seated Figure-Four Stretch
- Positioning: Sit on a chair and cross the ankle of your painful side over your opposite knee, forming a figure-four shape.
- Press Down: Gently press the bent knee downward to activate the hip and glute muscles. Hold for 5 seconds, repeat 10 times.
- Lean Forward: For a deeper stretch, keep your back straight and lean your chest towards the floor.
To target the lower back further, add a twist through your waist or tilt to the side.
Key Takeaways
- Self-Massage First: Begin with muscle release techniques to alleviate tension and prepare your back for strengthening.
- Strength Matters: Incorporate exercises like glute bridges, bird dogs, and hip hikers to provide your lower back with the support it needs.
- Don’t Skip Stretching: Mobility stretches like the ballerina stretch and seated figure-four are perfect for releasing tension and improving flexibility.
- Consistency is Key: Aim to practise these movements a few times a week for lasting results.
- Listen to Your Body: Adjust the intensity of exercises and stretches to suit your comfort level, and avoid pushing into pain.
Conclusion
Relieving lower back pain doesn’t have to involve costly treatments or endless reliance on painkillers. By combining muscle release, strengthening, and mobility exercises into your routine, you can address the root causes of discomfort directly from home. Whether you’re an office professional with posture concerns, an active parent juggling responsibilities, or someone who wants to feel more energised and grounded, this step-by-step guide offers practical solutions to help you reclaim your comfort and confidence.
Remember, balance and consistency are key – so take it one step at a time. With these strategies, you’re well on your way to a healthier, happier back.
Source: "How to Quickly Fix Lower Back Pain | STEP-BY-STEP Guide" – SpineCare Decompression and Chiropractic Center, YouTube, Jan 20, 2025 – https://www.youtube.com/watch?v=lmIwFY0WKe8